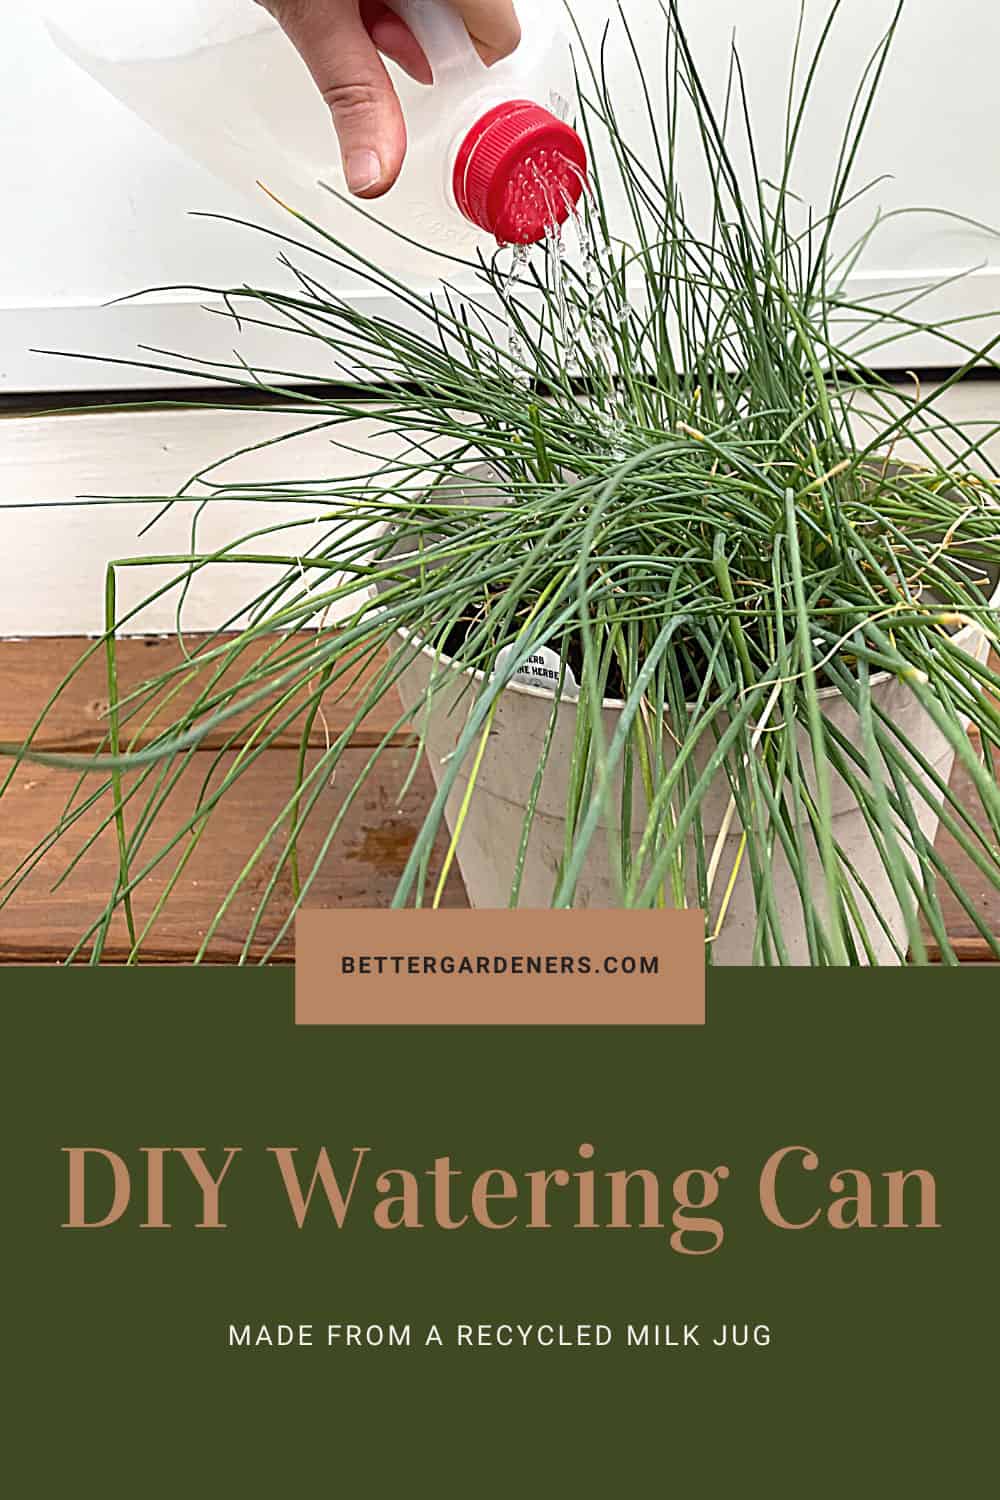
This is a fun and easy project for gardeners of all ages (including kids!). You can save money on gardening supplies and recycle at the same time by making your own watering can from milk jugs. Follow the directions below or check out the video embedded in this article.
I recommend a gallon size milk jug if you have lots of watering to do, but if your recycled watering can will be used by a kid, a half-gallon jug may be easier for them to carry. You can also reuse large water jugs, juice bottles or any plastic bottle with a screw-on cap and a handle.
Supplies Needs
- Empty Milk Jug with Cap
- Nail and Hammer
- Alternative: Drill
- Optional: Paint and stickers
Step 1: Rinse out the milk jug and cap until they’re clean. Remove any stickers or labels.
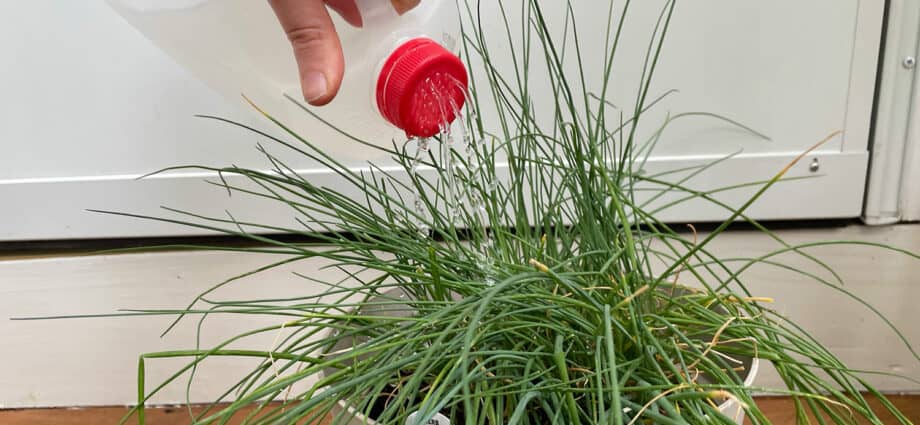
Step 2: Place the cap on a hard surface (a scrap piece of wood is good). If using nail and hammer, place the tip of the nail on the cap and tap it with the hammer until it punches a hole in the cap. With a drill, use a small bit and carefully drill holes into the cap. Continue until the cap is filled with holes.
Step 3 (optional): Decorate the watering can with paint and stickers. Allow your child to be creative and make their watering can their own.
Step 4: Fill the jug with water and screw on the cap. Use it to water your plants
Step 5 (optional): If water has a hard time coming out (lots of glugging), puncture a hole at the top of the handle to allow air to come in.
Save on Pinterest
That’s it. This fun activity is perfect for your kids to do on a rainy day when they can’t be out in the garden planting. Check out more gardening activities for kids.