Sprouts are one of the easiest foods you can grow yourself. You can do it indoors, at any time of year, with minimal gear and no soil or garden required! They’re perfect to grow in the winter and are fantastic for urban gardeners and apartment dwellers who want something fresh. While the fun hobby of growing sprouts is so easy anyone can do it with a jar and cheesecloth, you may find a sprouter better meets your needs. For this article, we’ll teach you the basics of sprouting seeds, as well as review the best seed sprouters for home use.
Contents
All About Sprouts
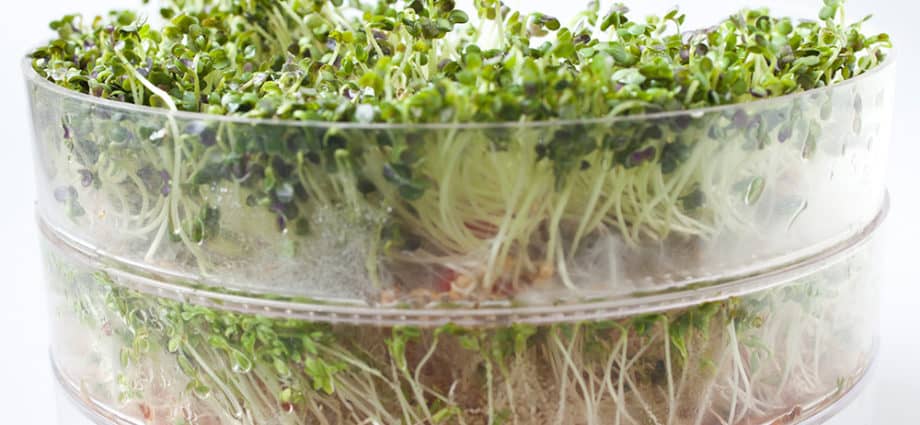
Sprouts are what you get when a seed first starts to grow, generally about 4-7 days of growth. They’re sprouted in water–not soil–as the seeds have all the nutrients needed to grow the sprout. Sprouting seeds is easier to grow than microgreens because sprout require less time to grow (1 week vs 10-20 days) and microgreens must be grown in soil.
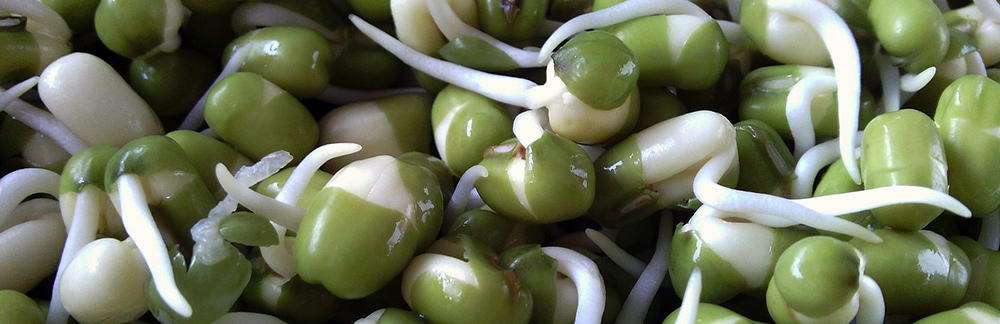
There are as many varieties of sprouts as there are edible plants, each with their own unique flavors, textures, and nutrients. You can grow vegetables like broccoli or carrots, greens like kale and spinach, or beans like mung beans or peas. You’ve probably seen (or even tried!) sprouts in your local sandwich shop, salad bar, or even at the grocery store. While you may be able to easily buy them in stores, sprouting seeds is an easy and affordable way to grow your own fresh food at home.
You may wonder what’s the point of eating sprouts–are there any benefits versus the full-grown plant or vegetable? In fact, there is. Sprouts are packed with nutrients that are often missing from the “adult” food or they provide higher quantities of important vitamins and nutrients. For example: eating a cup of broccoli provides only 1.5 mg of vitamin E, but a cup of broccoli sprouts has 7.5mg! (source).
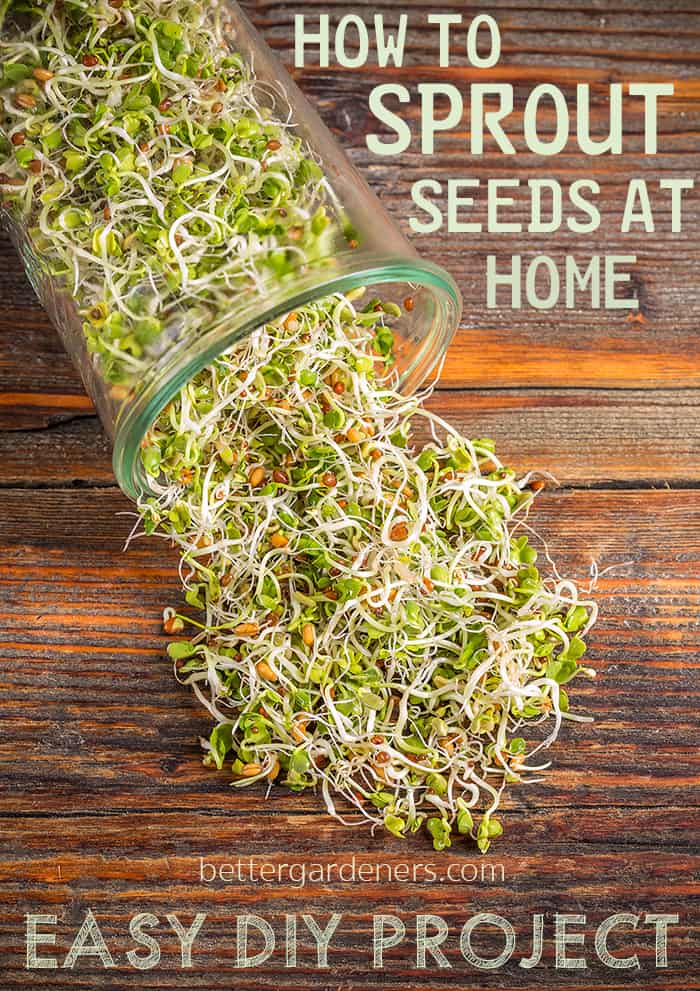
In addition to packing tons of nutritional benefits, seed sprouts add a crunchy texture and delicious flavors to salads, sandwiches, and even stir-fry. Plus, sprouting seeds is an addictive, but healthy, hobby. If you want to try sprouting seeds for the first time, check out our easy to follow instructions to grow sprouts at home.
Selecting Sprouting Seeds
Technically any edible seed can be sprouted, but you don’t just want to pick up a back of beans and try to sprout them. Buying specially marketed sprouting seeds is the best choice. Beans and seeds sold in grocery stores for consumption are often irradiated to prevent them from sprouting in transit or on store shelves, which means you won’t be able to sprout them at home.
Sprouting seeds are specially processed and tested to be clean and free of e.coli and salmonella because the growers know that the sprouting process is different from how beans and seeds are normally cooked before consumption.
You can easily purchase sprouting seeds online at retailers like Amazon, at garden stores, and at many local health food stores. There are tons of varieties to choose from, including sprouting mixes and kits. If you’re new to sprouts, I recommend trying a sampler pack to help you figure out what types of sprouts you like best.
How to Grow Sprouts at Home
The basic steps for sprouting seeds involve soaking the seeds or beans overnight and then “watering” them each day (usually twice a day) to keep them moist. The type of sprouter you use and the kinds of seeds you want to sprout will determine the best practices.
Usually, your sprouter will come with instructions about how many seeds you can sprout at once in it. Any seeds you buy will have info about watering ratios and frequency.
Generally, if you’re using a sprouting jar for your seeds, you’ll want to use 1-2 tablespoons of seeds. There is some wiggle room for this, but ultimately the amount you use will be determined by the size of your container and the size of the sprouts. Bigger sprouts need more space to grow.
When you soak your seeds overnight, make sure to cover them completely with room temperature water. Once they’re drained, you’ll need to rinse your sprouts 1-2 times a day until they’re ready to eat.
Store your sprouts in the fridge in a container with a lid–like another jar or tupperware. Line the container with paper towels. They should stay good for a week, but obviously, they taste best fresh!
Best Seed Sprouters
These are some of the best seed sprouters and kits to help you sprout a variety of seeds in your home with ease. I recommend many of these sprouters because they make it easy to grow many varieties of sprouts at once in a compact space.
Sprout Ease Seed Sprouter Jar Tops

If you’re looking for an affordable and easy introduction to seed sprouting and don’t want to go the DIY route, try these sprouting lids. Using a recycled jar for sprouting, these three plastic lids of various mesh sizes to allow for easy draining of your sprouting seeds.
Easy to use, and affordable with all the basics you need, this is a great sprouter for beginners and kids learning about growing food.
Pros:
Affordable price
Easy to use for beginners and kids
Three different mesh strainer sized caps
Cons:
Need to provide your own jars
Not the most stylish appearance
Victorio Deluxe 4 Tray Seed Sprouter

If you’re ready to step up your sprouting game or looking for the best seed sprouters to grow different types of sprouts, check this out. This compact sprouter from Victorio Kitchen Products comes with four seed trays, allowing you to grow for different varieties of sprouts at once. The trays feature holes in the bottom, allowing water to drain out while keeping your sprouts moist.
To use, once you’ve soaked your seeds, the trays can be stacked and water can be poured in the top. This water will flow through the layers to the reservoir in the bottom, leaving behind the right amount of moisture for your seeds. This process is a little easier than traditional sprouting in a jar.
If you’re a sprouts newbie or even a connoisseur, this is a good system to easily grow a variety of sprouts at home. You can easily create a rotating system of starting a new crop on an empty tray every two days so you can have fresh sprouts every day.
Comes with an instruction manual and a sample packet of organic alfalfa seeds. Made in the USA.
Pros:
Grow up to four different types of sprouts at once
Easy to water
Design helps avoid seed clumping
Looks good on a kitchen counter
Dishwasher safe
Cons:
Made of plastic (but it is BPA free)
Small seeds can clog the drain holes, leading to inadequate drainage
A smaller quantity of seeds can be done per tray versus jar method
Sproutman Hemp Sprout Bag

If you want to avoid plastic or jars cluttering up your kitchen counter, consider a sprouting bag. Sproutman makes this organic, chemical-free, natural hemp bag specigically for sprouting seeds. It’s one of the best seed sprouters if you’re short on space and want to grow a large quantity of sprouts. The Sprout Bag expands as your tiny sprouts grow, allowing you to grow small or large batches–whatever you need.
Hemp is naturally resistant to mold and mildew and the material allows for excellent drainage while still promoting proper airflow. To use, you soak the bag with seeds inside then hang it or lie it flat. Each day you should dip it twice to water your sprouts. Once you’ve grown the sprouts, you can continue to store them in the bag thanks to the breathable fabric. Clean the bag by boiling it in water. Easy to use, this is a natural way to sprout seeds.
If you’re a beginner, you can order the bag with a helpful chart that gives you sprouting instructions for a variety of seeds.
Pros:
Easy to use, low maintenance
Made from eco-friendly and environmentally sustainable hemp material
Bag blocks light which prevents sprouts from turning green early and becoming bitter
Cons:
Does not work with gelatinous seeds like flax, chia, and cress
May need to use a bowl or plate to catch drips from the bag
Tribest Freshlife Automatic Sprouter

If forgetfulness or a busy schedule often causes your seed sprouts to fail, an automatic sprouter. Think of Freshlife as the Aerogarden of seed sprouting. The unit sits on your counter top and all you have to do is fill the BPA-free barrel with water, plug it in, and the Freshlife will automatically water your seeds on a set schedule of 5 minutes of water every 25 minutes. Set and forget!
If you want variety in your sprouts, the seed tray is designed with four different reservoirs on each level, and you can add up to three levels of trays. This is perfect for big families who eat a lot of sprouts and you can stagger the growing times of the trays to make sure you always have fresh sprouts available.
Unfortunately, this amazing automatic seed sprouter is very expensive compared to manual options, so I wouldn’t recommend it for beginners. If you already buy a lot of sprouts, or find your kitchen counter is cluttered with tons of sprouting jars, the Freshlife is worth the investment to grow fresh and healthy sprouts at home easily. Plus, the automatic nature of the system takes care of any learning curve for new sprouters.
Pros:
Automatically waters your sprouts
Makes it easy to grow large crops
Can grow four types of seeds per tray
Cons:
Very expensive compared to other options
10″ wide sprouter takes up more counter space than other sprouters
Have to remember to change out the water every day
DIY Homemade Seed Sprouter
If you’re curious about sprouts and want to try growing your own, the easiest way to do it is to make your own seed sprouter jar. You may be able to do it with stuff you already have around the house.
Supplies
- Glass Jar
- Cheesecloth
- Rubber Band
- Sprouting Seeds
- Water
Take a clean glass jar (wash with soap and warm water or run through the dishwasher)–many people use canning jars but you can reuse a jam jar or a salsa jar.
Cut a piece of cheesecloth into a square a little larger than the mouth of your jar.
Measure out your seeds into the jar.
Fill the jar with room temperature water so the seeds are completely covered. Put the cheesecloth over the mouth of the jar and fasten into place with a rubber band.
Let the seeds soak overnight.
The next morning, drain the water from the jar through the cheesecloth.
Daily, fill your jar with enough water to cover the seeds and then drain the water completely. The seeds will stay moist.
Repeat until your sprouts are ready to eat.
Make sure to wash and dry your jar in between uses and periodically replace the cheesecloth.
Looking for more ways to grow fresh ingredients at home? These indoor herb garden kits and mushroom growing kids are easy and fun to use.