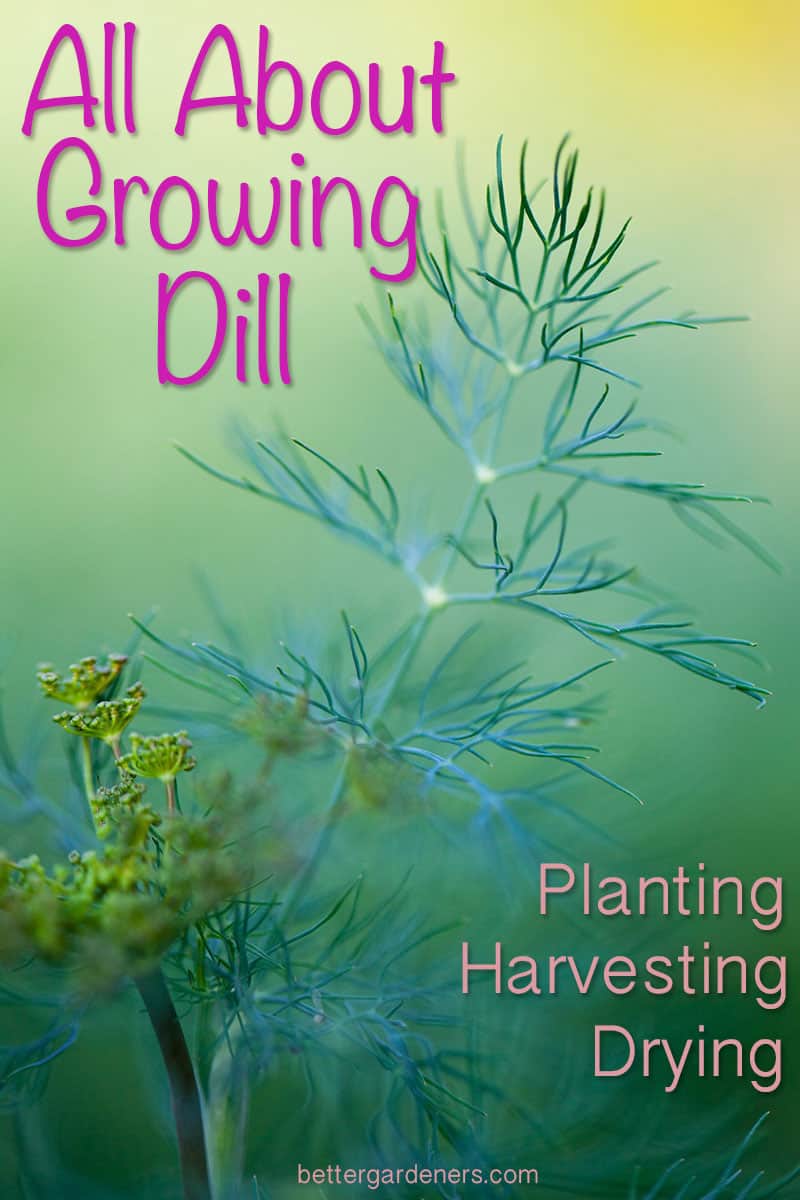
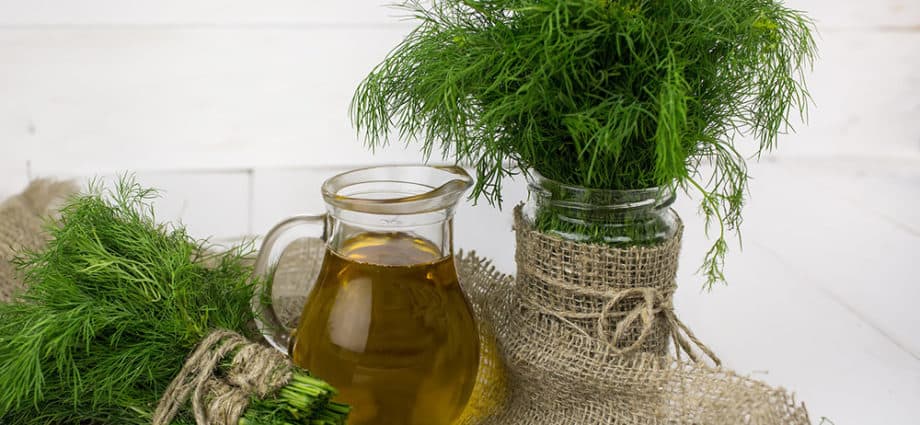
Dill (or dill weed) is a herb used in a variety of cuisines across the world. The leaves and seeds are used as herbs or spices for flavoring food, and all parts of the plant are edible. Though most gardeners grow dill as an annual herb, it is actually biennial. Dill has no serious disease problems to contend with.
Dill is an extremely easy herb to grow (that’s why they call it dill weed!) and it can actually reseed itself and grow year after year in the same spot or container. It’s a great herb to grow in a traditional garden or a container. It can also be grown indoors with enough light. We highly recommend it for beginner gardeners or teaching kids about gardening and growing food. In this article, we break down everything you need to know about growing dill.
Contents
How to Grow Dill
 Since dill is so easy to grow, you have a lot of options for how and where you can grow it. You can choose indoors or outside, in a garden bed or in a container. The biggest concern is to make sure your dill plant receives enough light. If you plant to grow indoors, it should either be in a sunny windowsill or with supplementary lighting.
While you can buy dill seedlings to transplant into your garden or container, it is incredibly easy to grow from seed, which can be sewn directly into the soil. Their long taproot makes them difficult to transplant once the seedling has grown it. Transplanting at that point can damage the plant and reduce yield.
Growing Dill in a Garden
If growing directly from seed, the packet should have instructions, but generally, you can plant your seeds 2 to 3 weeks before the average last date of frost. Pick a spot in your garden that receives full sun that you would like to grow dill in for several years.
Plant the seeds 1/4 to 1/2 an inch deep, spacing rows 2-3 feet apart. Use regular and even waterings to keep the soil moist until seedlings sprouts. Thin to a spacing of 12 inches apart.
If you want continuous fresh harvests of dill, you can sow successive crops every 3 – 4 weeks.
Once your dill plant is established, allow the soil to dry between waterings. Prune any flowers to encourage continued growth (see the section on pruning for more information).
Companion Plants for Dill
Companion planting is a great technique that allows gardeners to add natural benefits to their garden through repelling insects, attracting beneficial insects, providing nutrients, shade, or support. Dill is a great herb for companion planting.
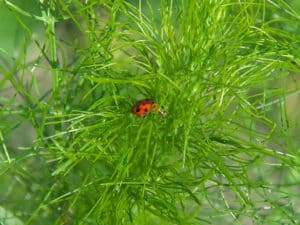 Dill is perfect to grow in any garden, but especially those with pest problems. If you have a problem with aphids, dill attracts ladybugs and lacewings, which eat aphids. It also attracts swallowtail butterflies and honeybees, which are pollinators. Dill can also repel or distract aphids, spider mites, squash bugs, and cabbage loopers.
Dills is a great companion plant for brassica (cabbage family including broccoli, turnips, mustard), asparagus, corn, cucumber, eggplants, legumes (beans), lettuce, onions, and fennel.
You should avoid planting dill near carrots, nightshades, caraway, and cilantro (to avoid cross-pollination),
Some gardeners say that planting dill with tomatoes can be beneficial, but since dill attracts tomato hornworms it can actually attract pests to your tomato plants. We leave that choice to your discretion.
Growing Dill in a Container
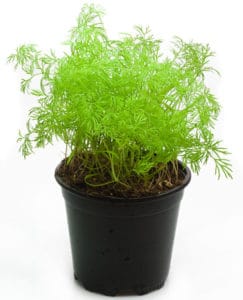 If you choose to grow dill in a container, keep in mind that they have a long taproot and need a container about 12 inches deep (you can get away with a smaller container if you are planting a dwarf variety like Dukat). Beyond the size, the choice of a container type is yours. If growing outside, select a location for your pot where your dill will receive full sun (at least 6-8 hours a day). If you want to get a head start on your dill, you can keep the pot or container inside until all chance of frost is gone.
Fill your container with any standard potting mix. Dill will grow in almost any soil (though it prefers slightly acidic soil), just make sure it is well-draining. Sprinkle your seeds on top and cover with a light layer of soil. Keep the soil moist until the seedlings sprout. When they reach 1-2 inches in height, thin to one or two plants in each pot. Continue care as normal for Dill.
If starting your dill seeds indoors or growing inside, make sure you place the pot in a sunny window–they need about 6-8 hours of sunlight. South facing windows work best. If the needed sunlight is not available, you can supplement with grow lights, including low-energy LED lights.
Learn more about how to grow herbs from seed.
Growing Dill Hydroponically
Dill is also a great choice to grow hydroponically. Because it usually grows so tall, you should select a dwarf variety like Fernleaf dill. Your hydroponic set up should include a sunny location or grow lights. If you’re new to gardening or looking for an easy setup for your kitchen counter, a hydroponic herb garden kit is a great choice.
Check out this video that includes all the basics on how to prune, harvest, and grow dill.
Types of Dill
There are several different types of dill that are great for growing in home gardens or in containers. Here are a few of the most common ones that you may want to consider when planning your garden.
Bouquet Dill (Buy seeds) – This is the most common dill grown by home gardeners. It has fragrant leaves and seeds perfect for pickling or cooking.
Mammoth Dill (Buy seeds) – Also known as “Long Island Dill,” is a very large variety of dill, sometimes growing up to 5 ft tall. It is best grown in garden beds, though it can be cultivated in large containers. It does require full sun, so keep that in mind while planning your garden. Mammoth dill is often used for pickling and also works well for all other dill uses and recipes.
Fernleaf Dill (Buy seeds) – This is a common dwarf variety of dill, with the plants reaching a maximum height of 18″. It’s a great choice for container gardening or growing indoors. It’s also the best choice for growing hydroponically. Some people also use it in flower arrangements.
Dukat Dill (Buy seeds) – This is another dwarf dill plant, perfect for containers and growing indoors. What makes it stand apart from other dill varieties is its bright green color and rich foliage. Many people enjoy Dukat dill in salads.
Vierling Dill – If you want to have dill available all summer, Vierling takes longer to bolt. It’s great for warmer climates with a longer growing season.
How to Prune Dill
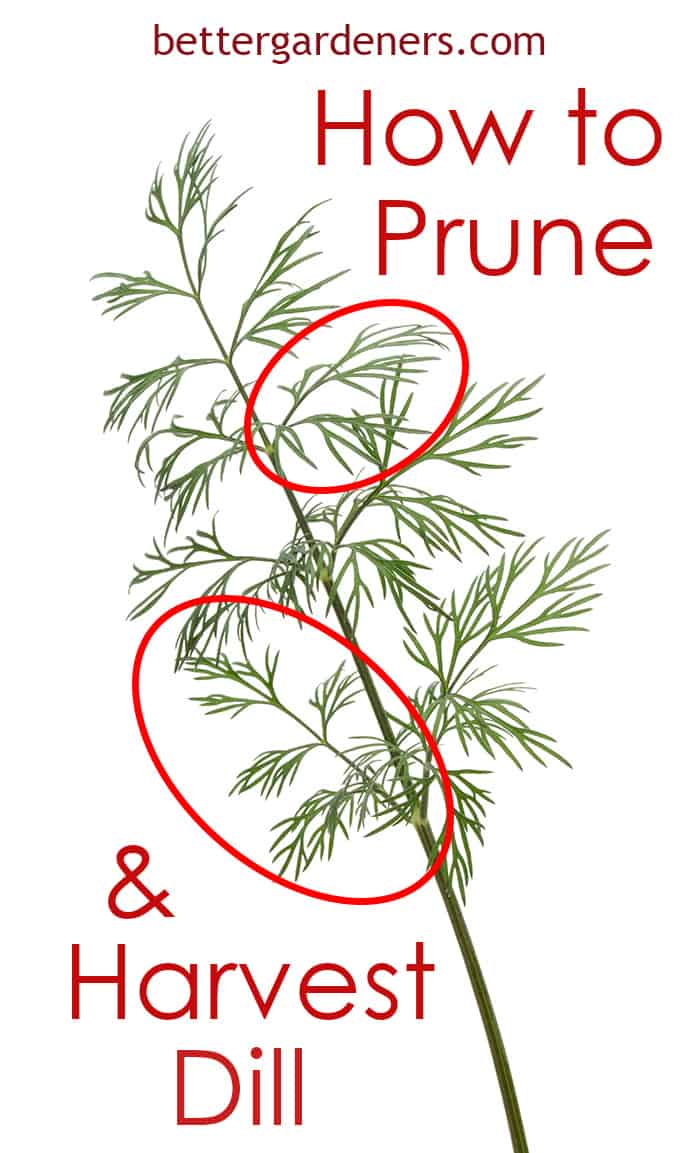
If you want, you can easily let your dill grow wild, take a little bit when you need it to cook, and just let the plant complete its natural lifecycle. Dill is so easy to grow that it will continue to propagate each year without much intervention from you. But by pruning, you can better control the plant in multiple ways.
Dill naturally grows tall, with most types growing about 3-4 feet tall. Mammoth Dill can reach up to five feet. Sometimes that may not be convenient if you’re growing the dill inside or in a compact garden area. You can use pruning to pinch back your dill plant and encourage it to grow bushier.
Depending on the type of dill you grow, it may flower sooner than you would like. If you want the plant to continue to grow, you will need to prune the flowers. Once the dill goes to seed the plant will die and you’ll need to replant or wait until the next summer. Pinching back the flowers before they open also helps to avoid cross-pollination with other plants like cilantro, which can ruin both plants.
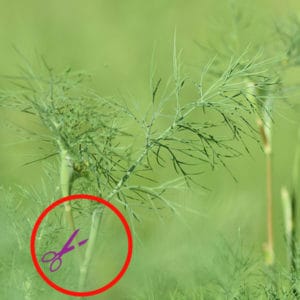 To prune your dill to make it bushier or prevent flowering is quite easy. If you’ve been harvesting it regularly, you won’t need to prune. But if the plant has gotten away from you, you’ll just need to snip or pinch the dill. You can use your fingers, a pair of pruning shears, or even just some kitchen scissors.
While most gardeners will just prune anywhere on the plant, we find it’s best to prune at the branch, especially when removing flowers. When you’re looking at your plant, you will see a joint that the flower springs out of. Cut above the joint, on the perpendicular branch (see the image to the left).
Evening if you’re just pruning for maintenance, don’t waste your dill! Use it to season salad dressing, add a little zip to your salad, or store it in the fridge for a week or two. You can also dry the excess dill for long-term storage, which we’ll talk about later in this article.
How to Harvest Dill
Harvesting dill is just like pruning dill, except you’re harvesting with the purpose of using the dill. Unless it’s the end of the season, you want to make sure to follow a few simple rules to protect the plant.
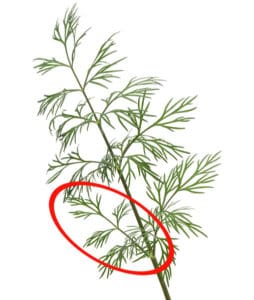 Dill can be harvested at any point in the season, however, you do not want to harvest the plant until it has at least 5 “leaves.” For a dill plant, which has many tiny tendrils, a leaf is more like a “leaf unit”. It will stand off from the branch of the plant as a self-contained unit (see the image to the right).
When you harvest, try to cut or pluck at the juncture (as illustrated in the section above on pruning). If you just need a pinch of dill, you can take less than an entire “leaf.” Generally try to harvest from the top of the plant, which will encourage it to grow bushier rather than tall.
A good rule of thumb is to leave at least 1/3 of the plant behind when you harvest. That way you won’t cripple or kill the plant by harvesting too much. Remember, if you’re growing multiple dill plants in one pot or section of garden, you need to leave 1/3 of each plant separately.
Harvested dill will last 1-2 weeks in the fridge, but we generally recommend just harvesting as much as you need at the time from the plant.
How to Dry Dill
Dill is best when used fresh (it loses flavor quickly when dried), but when you reach the end of the growing season or have a surplus of dill, drying is a great option to extend its use. Dill leaves, seeds, and stems can all be dried.
Generally, dill has the best flavor when it just begins to flower, so that is considered the best time to harvest dill for drying. If you want to dry seeds as well, you will have to wait for the plant to go to seed before you harvest. Dill seeds are much more flavorful than the leaves when dried.
After you harvest your dill, wash it to remove dirt and insects. To dry the dill leaves, clip off the individual leaflets. Lay them in a single layer in a dehydrator or on a baker’s rack or clothes drying rack. If you plan on frequently drying herbs from your garden, you may want to use an herb drying rack (like the one pictured on the right). If using a dehydrator, it should take about a day. To air dry, pick a warm, dry room, without direct sunlight and allow several days for the dill to dry. Turn the leaves each day to allow even air exposure.
Once the dill is dried, crush the leaflets and store them in a glass jar. Since dried dill is less potent, you will need to use double the amount in your recipes. The dried dill should keep for 4 to 6 months if stored in a cool area away from direct sunlight.
How to Dry & Save Dill Seeds
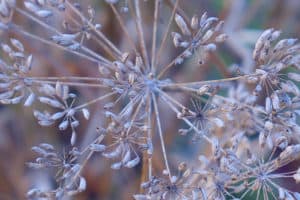
To dry dill seeds, allow the plant to go to seed. Clip the bunch from the plant and tie them together by the stems in small bundles. Using a drying rack, hand the dill seeds upside down. Place something under the rack to catch the seeds and leaves as they dry. Hanging a bag from the rack works well, as long as it doesn’t restrict airflow. You can punch holes in the bag to help with this. The seeds should dry and drop within a few weeks.
Store the dried seeds in a glass jar in a cool, dark area. You can then use them in cooking or plant them during the next growing season.
If drying the seeds feels like to much work and you want to grow dill in the same spot next year you can let the plant reseed itself. Allow the dill to flower and dry up. As the seeds dry it will drop them in place. Remove the plants when all the seeds have dropped.
Culinary Uses for Dill & Recipes
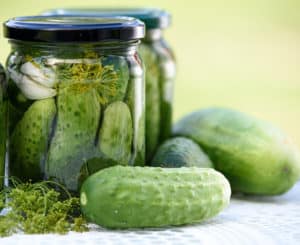 When most people think of uses for dill, their first thought is automatically: pickles! And if you’re growing cucumbers in your garden with the dill, this is a great option to use up this tangy herb. There are as many dill recipes and techniques as there are pickle lovers, so you may want to play around until you find the one you like best.
Most recipes will just call for fresh dill, but often the flowers of the dill plant are used in pickling as well. Many gardeners recommend picking the flowers when they are still green buds, as the dill flavor is more powerful. You can also use the flowers when they are blooming yellow or when they’ve turned to the brown seed. Experiment and find what you like best.
If you’re just starting out, here are some pickling recipes you can try:
Refrigerator Dill Pickles
Easy Dill Pickle Recipe
Blue Ribbon Dill Pickles
Fast Garlic Dill Pickles
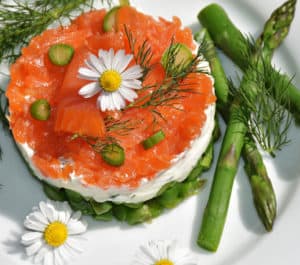 Dill goes fantastically with fish, especially salmon. There are many delicious recipes that combined dill with lemon and butter to flavor and enhance baked or grilled salmon. Here are a few of our favorite dill and salmon recipes for you to try:
Dill, Salmon, and Zucchini Kabobs
Salmon and Dill Pizza
Dill and Dijon Salmon
Dill is also a fantastic herb to flavor dressings and dips. Here are some tasty recipes you can try with your harvest:
Dill Buttermilk Salad Dressing
Dairy Free Ranch Dressing with Dill
Lemon Dill Tartar Sauce
Dill is also a great complement to potatoes, especially potato salads and other side dishes. Here are some tasty dishes to try:
Grilled Potato Salad
Roasted Potato and Herb Salad
Dill Pickle Greek Yogurt Potato Salad
Potato and Green Bean Salad with Eggs
Creamy Dill Potato Salad
Feel free to experiment with dill in your recipes. Use fresh leaves to spice up a salad or just plain sour cream. Add it to soups and broth to create more dimension. The possibilities are as endless as your dill supply
If you’re new to gardening, learn how to grow herbs from seeds for more growing tips.
Share on Social Media
